20.4 Installing an XBU
20.4 Installing an XBU
This section describes the procedure for installing an XBU.
|

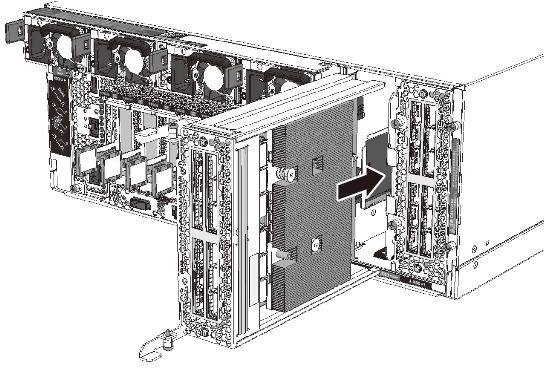
- Install the XBU.
Insert the XBU into the server gently to avoid mechanical shock, with the XBU removal levers open.
|
Figure 20-7 Inserting the XBU
|
|
- Close the removal levers of the XBU.
Close the removal levers of the XBU, and connect the connector to the CPU memory unit.
|
Figure 20-8 Connecting the XBU
|

|
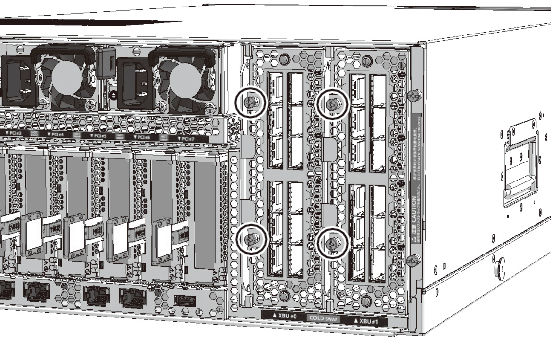
- Secure the XBU.
Tighten the two fixing screws to secure the XBU.
| Note - When installing the XBU, insert it all the way into the chassis, with its removal levers open upward and downward. If you close the removal levers before inserting the XBU, you cannot install it. The removal levers will move in the closing direction as you insert the XBU all the way into the chassis. Push the removal levers manually to close them completely. |
|
Figure 20-9 Securing the XBU
|
|
- Install the crossbar cables.
Install the crossbar cables to the XBU. For details, see "19.4 Installing the Crossbar Cable."
| Note - The destination port for the XBU is described on a label affixed to the crossbar cable. Check the label first and connect the cable to the port of the XBU. For crossbar cable connection destinations, see "4.3 Connecting Crossbar Cables" in the Fujitsu SPARC M12-2S Installation Guide. |
|
|
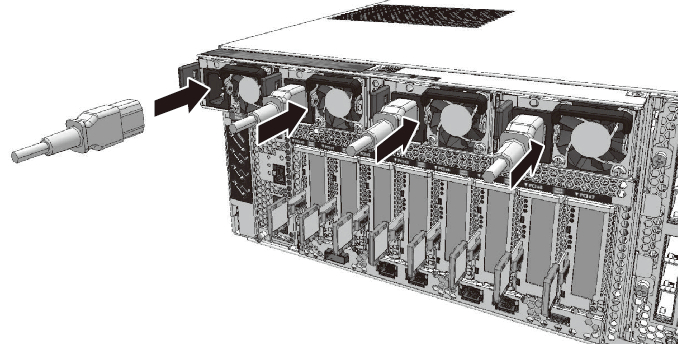
- Place the server in the hot state.
For details on installing the power cord on the server, see "10.1.1 Installing a Power Cord."
|
Figure 20-10 Installing the Power Cord
|
|
< Previous Page | Next Page >