14.4.2 Installing a FANU
14.4.2 Installing a FANU
This section describes the procedure for installing a FANU.
- Insert the FANU into the FANBPU.
Insert the FANU into the FANBPU, with the latch pulled up, and connect the FANU to the FANBPU connector.
|
Figure 14-8 Inserting a FANU
|

|
|

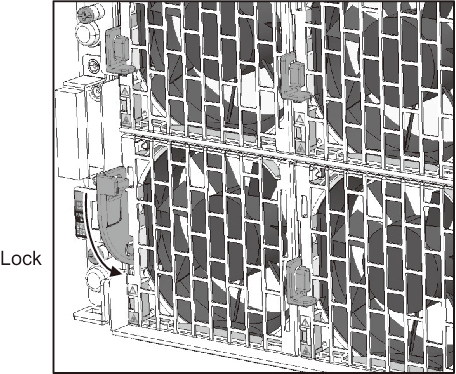
- Secure the FANU.
Insert the FANU into the FANBPU and fold back the latch of the FANU to secure the FANU. (Figure 14-9)
|
Figure 14-9 Securing a FANU
|
|
- Incorporate the FANU into the system.
If you have performed maintenance on the FANU when the server was in the hot state, incorporate the FANU into the system as instructed in "10.4.2 Incorporating the FANU."
- Install the front cover.
For the procedure for installing the front cover to the front of the server, see "10.1.3 Installing the Front Cover."
| Note - The serial number of the server is printed on a label affixed on the front cover. Store this cover such that it is not mixed up with the front covers of other SPARC M12 units. |
If you have performed maintenance on the FANU when the server was in the hot state, the following step is not necessary.
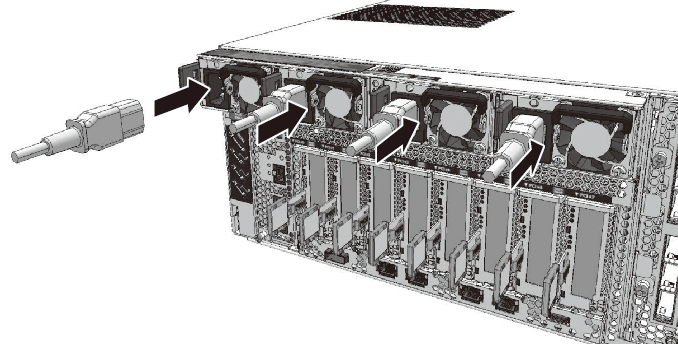
- Place the server in the hot state.
Power on the server to place it in the hot state. For details on installing the power cord on the PSU, see "10.1.1 Installing a Power Cord."
|
Figure 14-10 Installing the Power Cord
|
|
< Previous Page | Next Page >