16.3.3 Removing the OPNL
16.3.3 Removing the OPNL
This section describes the procedure for removing the OPNL mounted in the HDDBPU.
| Note - If you are replacing the OPNL of the SPARC M12-2S, make a note of the set BB-ID value. |
- Remove the HDDs/SSDs.
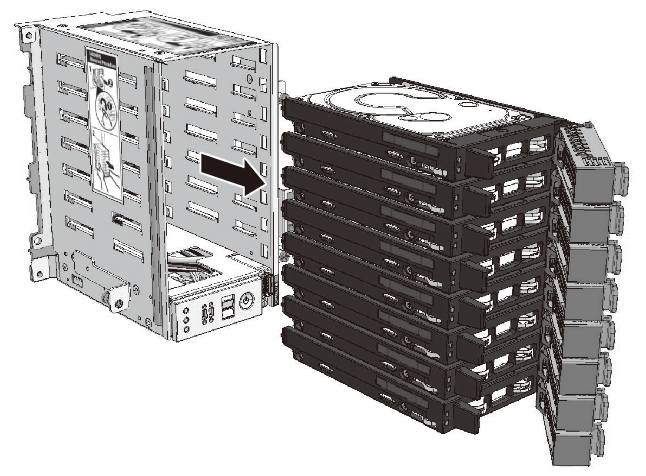
Remove all the HDDs/SSDs mounted in the HDDBPU. If any filler units are mounted, remove them too. For details, see "15.3 Removing an HDD/SSD or Filler Unit."
|
Figure 16-6 Removing the HDD/SSD and Filler Units
|
|
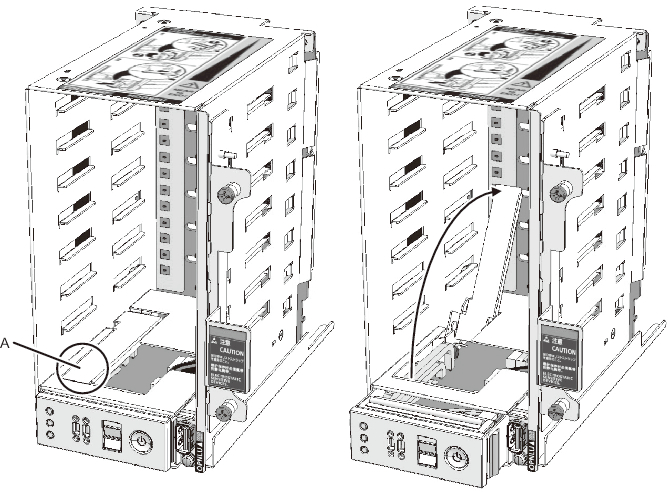
- Pull up the removal lever of the OPNL.
Pull up the removal lever of the OPNL (A in Figure 16-7), and pull the OPNL out from the HDDBPU.
|
Figure 16-7 Releasing the OPNL
|
|
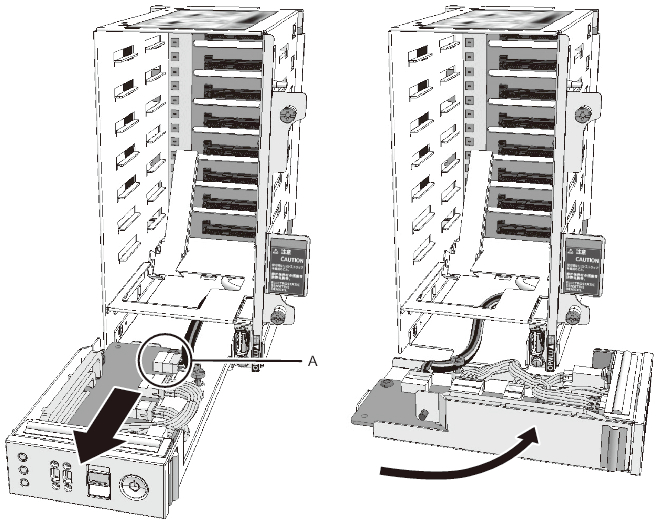
- Remove the OPNL.
Disconnect the connector (A in Figure 16-8) that connects the HDDBPU and OPNL. Disconnecting the connector completes the removal of the OPNL.
|
Figure 16-8 Pulling out the OPNL
|
|
|

|
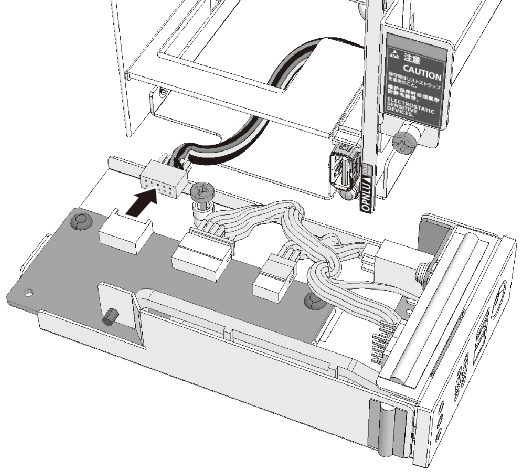
Figure 16-9 Removing the OPNL
|
|
< Previous Page | Next Page >