17.5.3 Restoring the Server
17.5.3 Restoring the Server
This section describes the procedure for restoring the server after performing maintenance on the CMU.
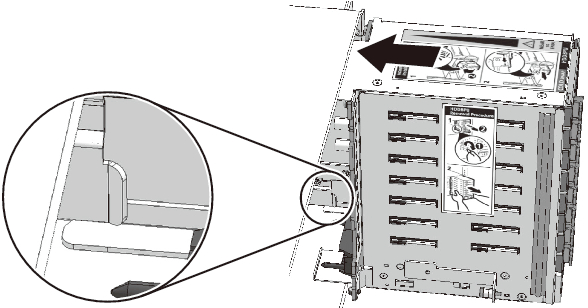
- Install the HDDBPU.
For details, see "16.4.2 Installing the HDDBPU in the Server."
|
Figure 17-28 Installing the HDDBPU
|
|
|

|
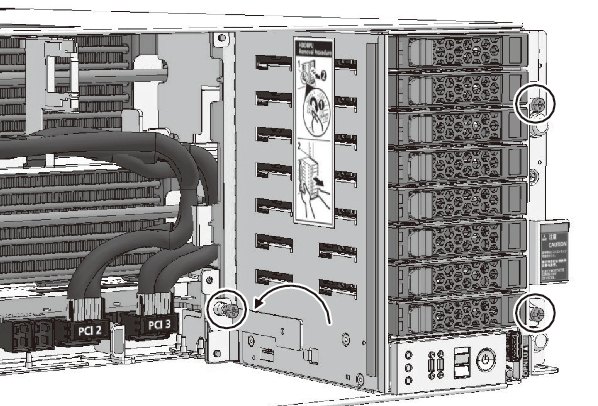
Figure 17-29 Securing the HDDBPU
|
|
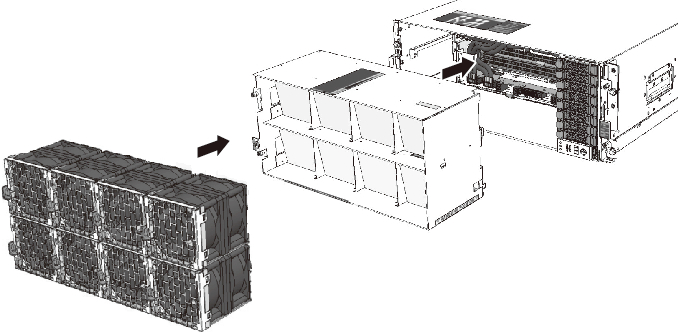
- Install the FANBPU and FANUs.
Install the FANBPU and secure it to the server. Then, install all the FANUs. For details, see "14.4.1 Installing the FANBPU" and "14.4.2 Installing a FANU."
|
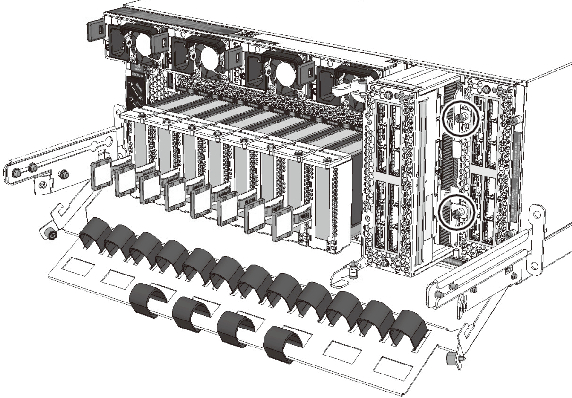
Figure 17-30 Installing the FANBPU
|
|
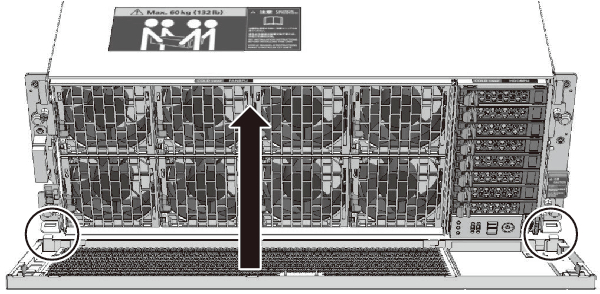
- Install the front cover.
|
Figure 17-31 Installing the Front Cover
|
|
- Install the XBU.
| Note - For the SPARC M12-2, this step is not necessary. |
- Install the XBU in the server and secure it by tightening the fixing screws. For details, see "20.4 Installing an XBU." Note that, for the SPARC M12-2, this step is not necessary. Proceed to step 5.
|
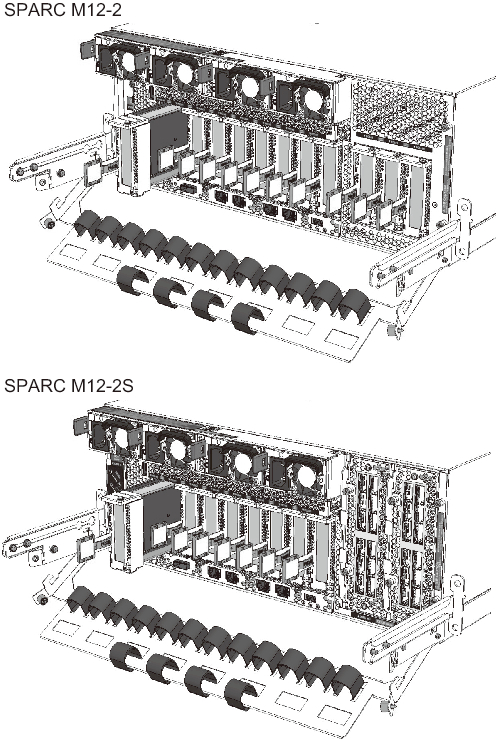
Figure 17-32 Installing the XBU
|
|
- Install the PCIe card.
Install the PCICS to the server, and secure it by pushing down its removal levers. Then, lower the cable support to secure the PCICS. For details, see "12.4.1 Installing a PCIe Card or PCIe Card Filler."
|
Figure 17-33 Installing the PCICS
|
|
- Place the server in the hot state.
Connect the power cord to place the server in the hot state.
For details on installing the power cord on the server, see "10.1.1 Installing a Power Cord."
|
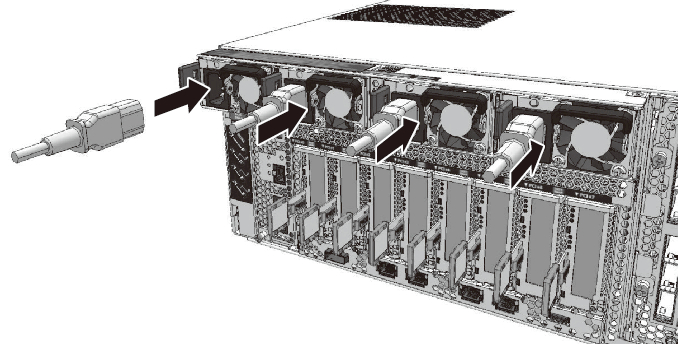
Figure 17-34 Installing a Power Cord
|
|
< Previous Page | Next Page >