14.3.2 Removing the FANBPU
14.3.2 Removing the FANBPU
This section describes the procedure for removing the FANBPU.
| Note - If you are replacing only a FANU, this step is not necessary. |
| Note - Before removing the FANBPU, remove all the FANUs from it. |
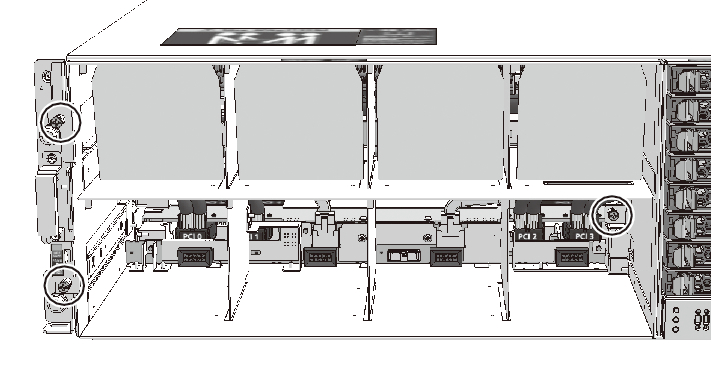
- Loosen the three fixing screws of the FANBPU.
|
Figure 14-4 Fixing Screws of the FANBPU
|
|
|

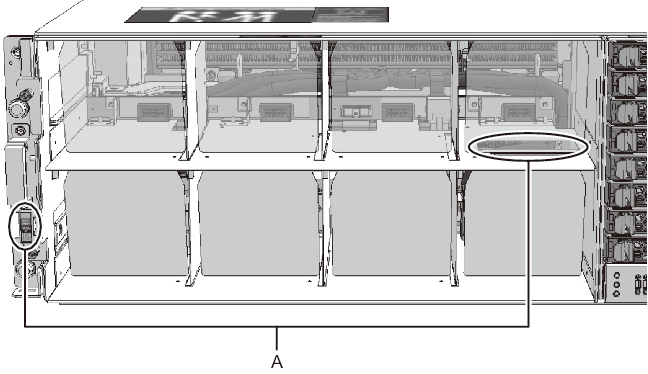
- Remove the FANBPU.
Hold the FANBPU by the parts indicated by A in Figure 14-5, and pull it out from the server. When you see the "HANDLING POSITION" labels on the sides of the FANBPU, hold the FANBPU by its sides and remove it from the server.
|
Figure 14-5 Removing the FANBPU
|
|
< Previous Page | Next Page >