19.3 Removing the Crossbar Backplane Unit
19.3 Removing the Crossbar Backplane Unit
This section describes the procedure for removing the crossbar backplane unit.
Enable the removal of the crossbar backplane unit before attempting to remove it. For details, see "Chapter 7 Maintenance Flow."
Enable the removal of the crossbar backplane unit before attempting to remove it. For details, see "Chapter 7 Maintenance Flow."
|

- Partially pull out the following components, in order, from top to bottom.
You do not have to remove the cables of these components.- XSCF unit
For details, see "8.4 Removing the XSCF Unit."- XSCF interface unit
For details, see "14.4 Removing the XSCF Interface Unit."- Crossbar unit or filler unit of the crossbar unit
For details, see "12.3 Removing a Crossbar Unit."- Power supply unit
For details, see "13.3 Removing a Power Supply Unit." - Remove the front cover.
For details, see "5.5.2 Removing the Front Cover." - Remove all the fan units.
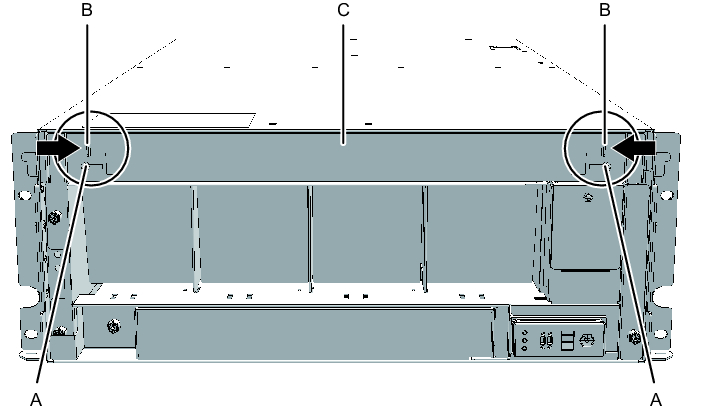
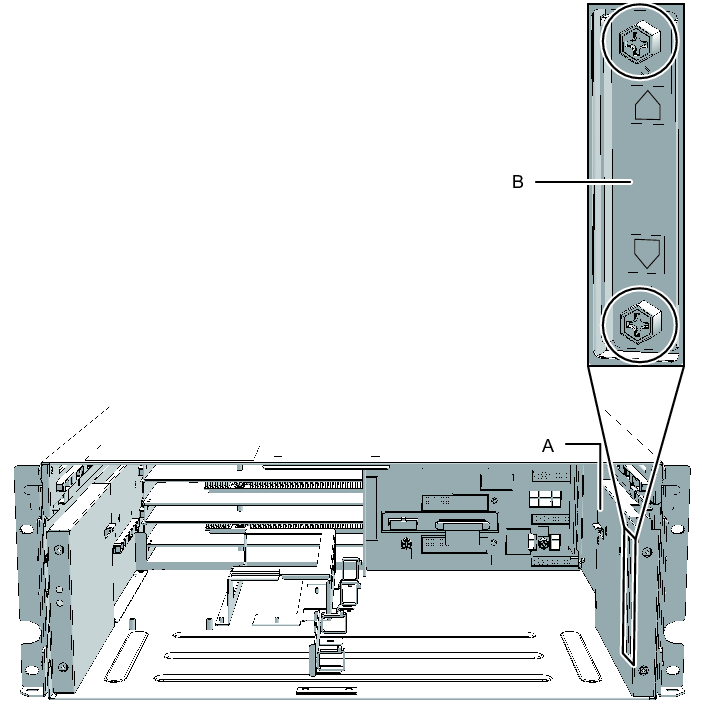
For details, see "15.3 Removing a Fan Unit." - Loosen the two screws (A in Figure 19-2) securing the upper cover, and slide the right and left stoppers (B in Figure 19-2) inward. Then, remove the upper cover (C in Figure 19-2).
|
Figure 19-2 Removing the Upper Cover
|
|
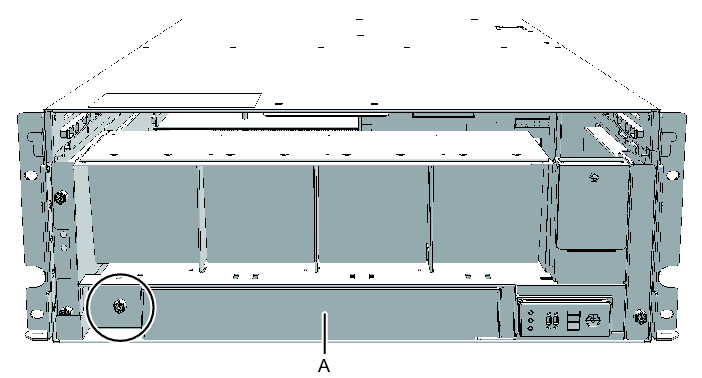
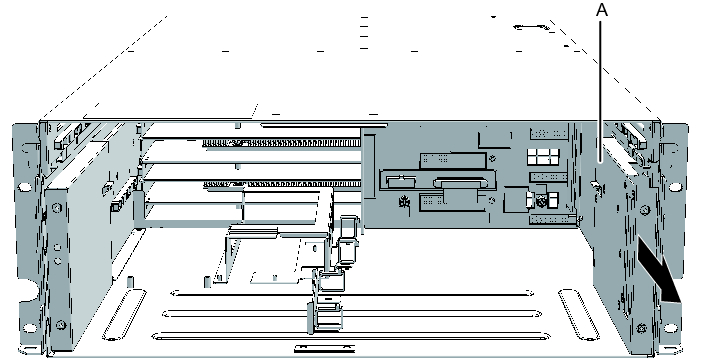
- Loosen the one screw (A in Figure 19-3) securing the lower cover, and slide the lower cover to the left to remove it.
|
Figure 19-3 Removing the Lower Cover
|
|
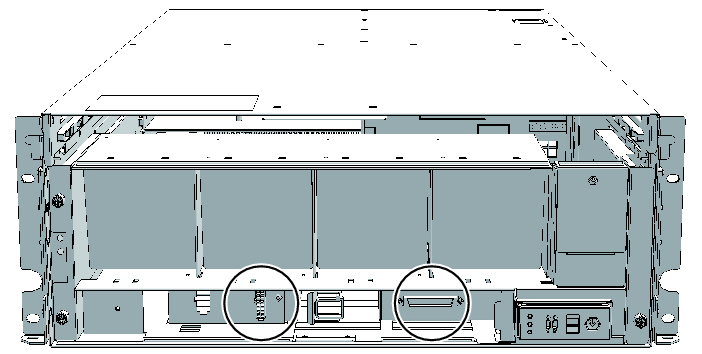
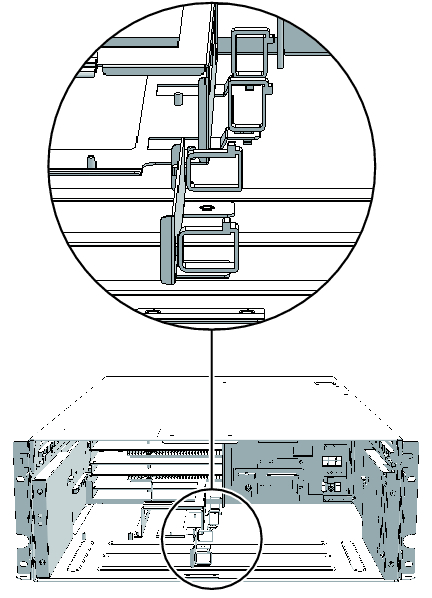
- Disconnect the two cables from the fan shelf.
Keep the disconnected cables together in the center of the shelf.
|
Figure 19-4 Removing the Cables
|
|
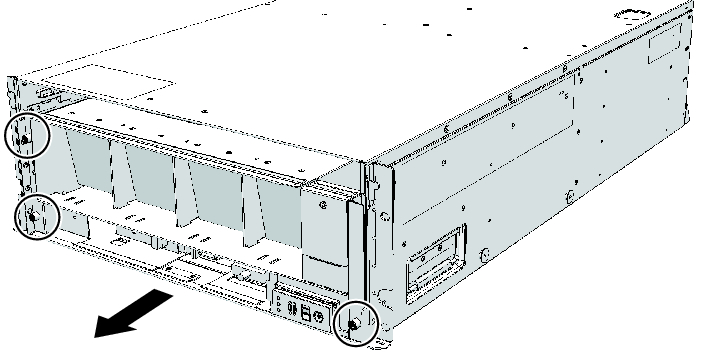
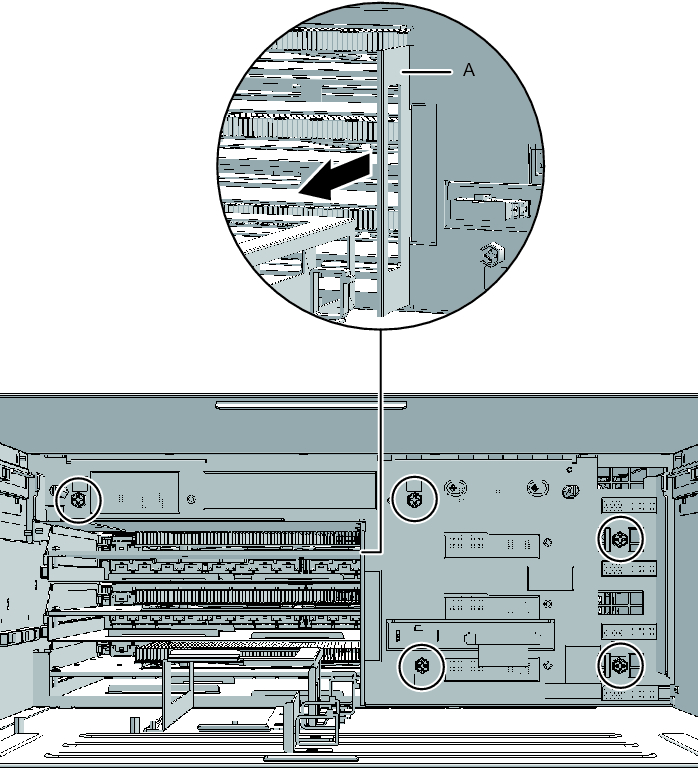
- Loosen the three screws securing the fan shelf and partially pull out the fan shelf.
|
Figure 19-5 Removing the Fan Shelf
|
|
- Place a hand under the fan shelf to support it, and carefully remove it from the chassis.
| Note - Remove the fan shelf while paying careful attention to the two cables arranged in the center. |
| Note - Place the removed fan shelf on a grounded antistatic ESD mat. |
- Loosen the two screws and remove the bracket (B in Figure 19-6) fixing the guide plate (A in Figure 19-6).
|
Figure 19-6 Removing the Bracket
|
|
- Slide the guide plate (A in Figure 19-7) toward the front to remove it.
|
Figure 19-7 Removing the Guide Plate
|
|
- Remove the cable from the clamps.
| Note - Move the clamps back to their original positions so that they do not foul the removal of the crossbar backplane unit. |
|
Figure 19-8 Removing the Cables
|
|
- Loosen the five screws securing the crossbar backplane unit, and pull the crossbar backplane unit straight out while holding the center handle (A in Figure 19-9).
|
| Note - Place the removed crossbar backplane unit on a grounded antistatic ESD mat. |
|
Figure 19-9 Removing the Crossbar Backplane Unit
|
|
< Previous Page | Next Page >