14.4 Removing the XSCF Interface Unit
14.4 Removing the XSCF Interface Unit
This section describes the procedure for removing an XSCF interface unit.
Enable the removal of the XSCF interface unit before attempting to remove it. For details, see "Chapter 7 Maintenance Flow."
Enable the removal of the XSCF interface unit before attempting to remove it. For details, see "Chapter 7 Maintenance Flow."
|

- Remove all the XSCF BB control cables and XSCF DUAL control cables connected to the XSCF interface unit.
| Note - Record the positions of the cables before removing them to ensure that they are reinstalled correctly. |
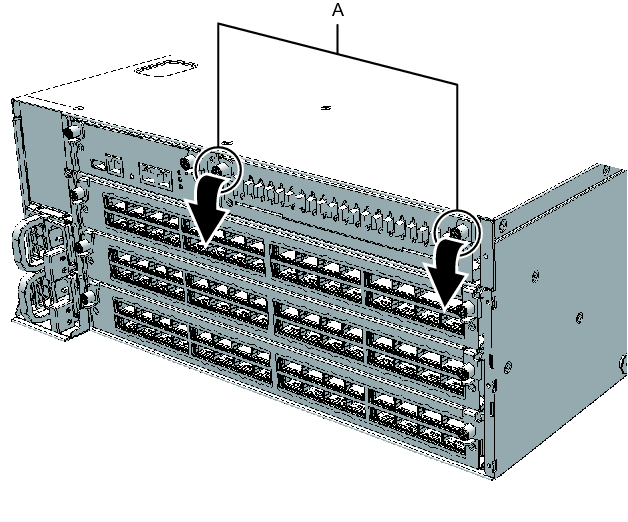
- Loosen the two screws (A in Figure 14-2) of the XSCF interface unit and lower the right and left levers to release the XSCF interface unit.
|
Figure 14-2 Positions of Screws and Levers
|
|
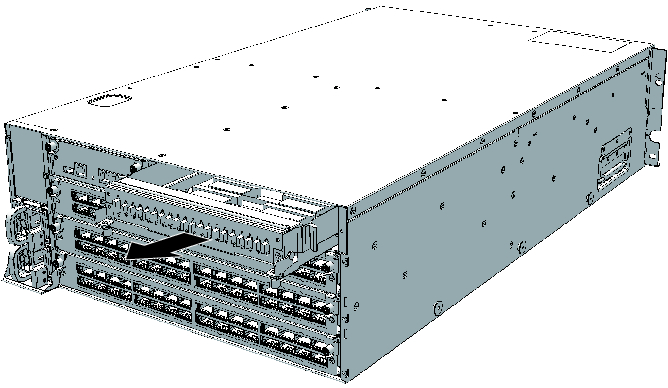
- Hold the levers and partially pull out the XSCF interface unit.
|
Figure 14-3 Pulling Out the XSCF Interface Unit
|
|
- Support the XSCF interface unit from below with one hand, and carefully remove it from the chassis.
| Note - Place the removed XSCF interface unit on a grounded antistatic ESD mat. |
< Previous Page | Next Page >