6.1.5 Putting the SPARC M12-1 Into the Rack
6.1.5 Putting the SPARC M12-1 Into the Rack
If the maintenance was performed on an internal FRU in the SPARC M12-1, install the upper cover, close the fan cover, and then put the SPARC M12-1 back into the rack.
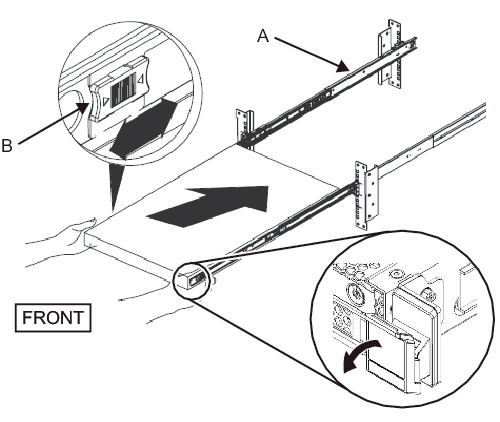
- Carefully push the SPARC M12-1 all the way into the rack.a. Align the edge of each inner rail attached to the SPARC M12-1 with the edge of a middle rail in the rack (A in Figure 6-7), and insert the SPARC M12-1.b. The rail locks with an audible click as you insert the server. Pull each green lock lever (B in Figure 6-7) of the inner rails to release the locks, and insert the SPARC M12-1 into the rack.
Pull down both of the green levers at the front end of the SPARC M12-1, and push the SPARC M12-1 further until it goes in all the way. Then, take your hands off the levers to engage the locks.c. Shake the SPARC M12-1 a little to confirm that the SPARC M12-1 is secured to the rack.
|
Figure 6-7 Putting the SPARC M12-1 in the Rack
|
|
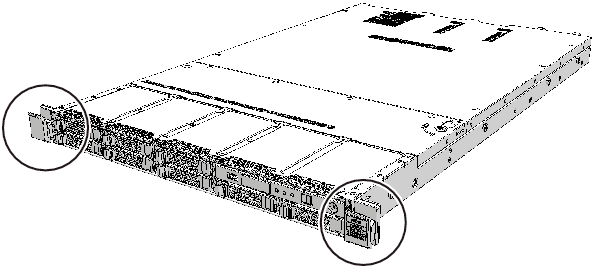
| Note - Confirm that the SPARC M12-1 is securely mounted and that all the levers are locked. |
|
Figure 6-8 SPARC M12-1 Levers
|
|
< Previous Page | Next Page >