13.4.1 Installing the cable kit
13.4.1 Installing the cable kit
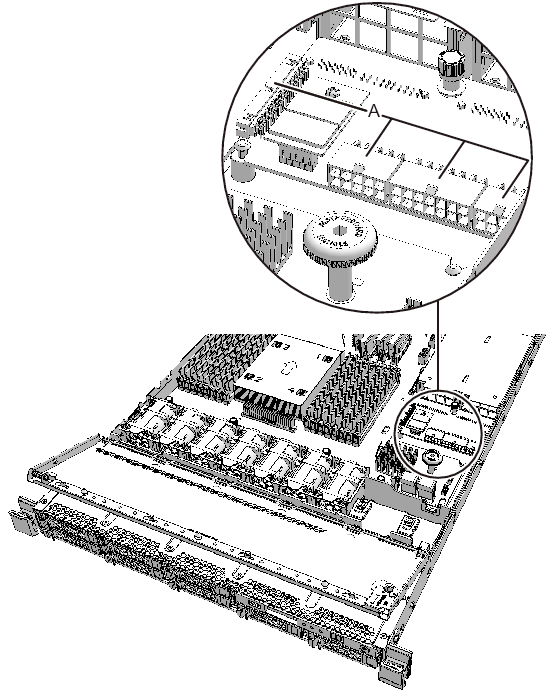
- Lift the PSU backplane and connect the four cables (A in Figure 13-7) to the PSU backplane.
|
Figure 13-7 Cable connection locations of the PSU backplane
|
|
- Install the PSU backplane.
- Check that the two fixing pins are inserted into the PSU backplane, and then slide the PSU backplane toward the rear of the chassis.
- Tighten the screw securing the PSU backplane.
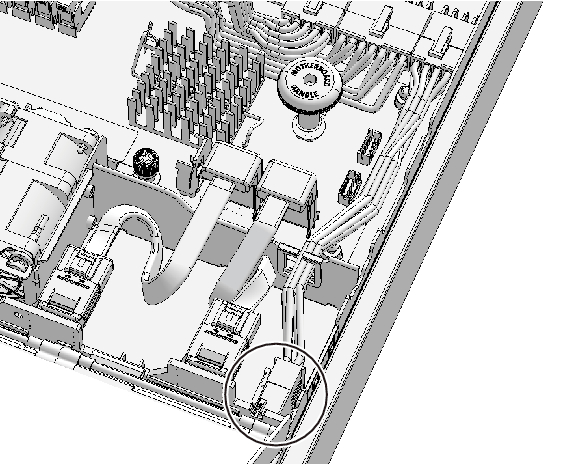
- Connect one cable connecting the PSU backplane to the HDD backplane.
|
Figure 13-8 HDD backplane cables
|
|
- Lock the cable guide after storing the connected cables in the guide.
For details, see "6.1.1 Locking the cable guide."
If the cable guide does not have a lock, then make sure that the cables are stored in the cable guide. For the layout of the cables in the cable guide, see Figure 16-19.
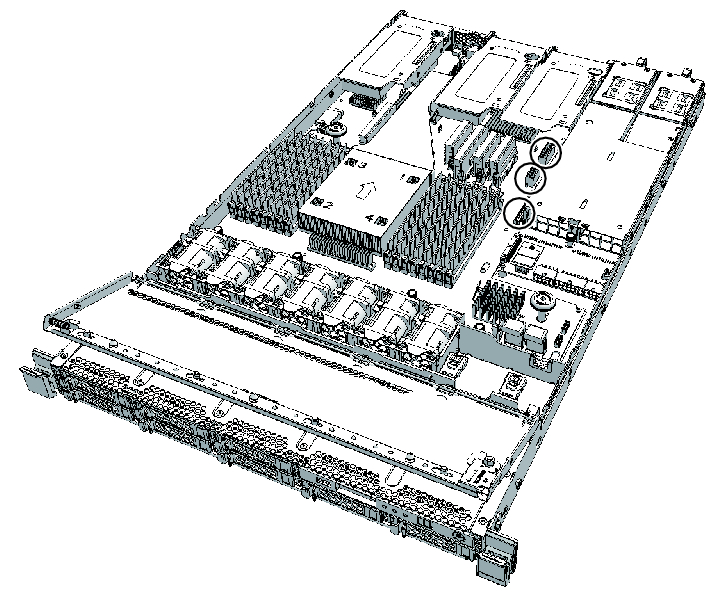
- Connect the three cables connecting the PSU backplane to the motherboard unit.
| Note - Connect the cables in their original positions by referring to the record that you made before the start of maintenance. |
| Note - Make sure that each cable is firmly inserted. |
|
Figure 13-9 Motherboard unit cables
|
|
< Previous Page | Next Page >