10.4.1 Installing the HDD backplane
10.4.1 Installing the HDD backplane
This section describes the procedure for installing the HDD backplane.
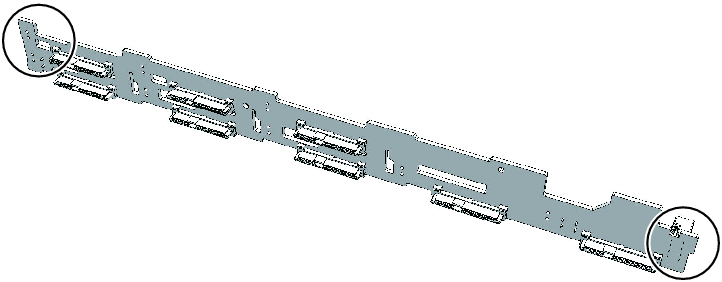
- Install the HDD backplane by aligning the notches on both sides.
|
Figure 10-6 Notches of HDD backplane
|
|
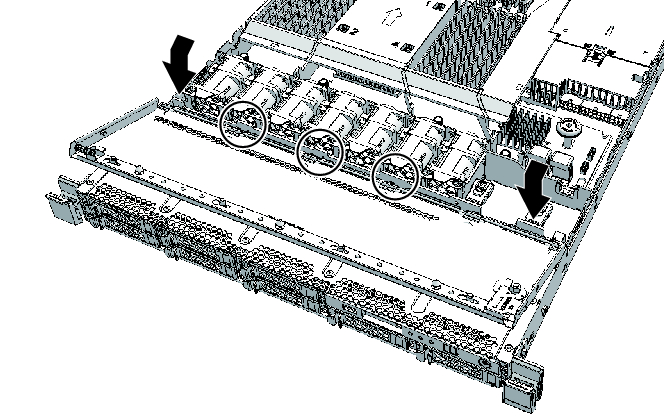
- Align the HDD backplane with hooks on the chassis (three positions) and push the backplane into place.
|
Figure 10-7 Hooks on the chassis
|
|
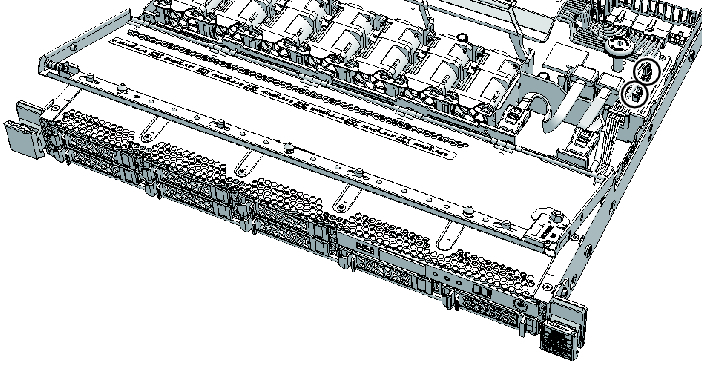
- Tighten the two screws securing the HDD backplane.
- Connect the two cables from the operation panel to the motherboard unit.
| Note - Connect the cables in their original positions by referring to the record that you made before the start of maintenance. |
| Note - When connecting the cables, insert them firmly. If there is a loose connection, the motherboard unit will be unable to access the operation panel, resulting in an XSCF startup error. |
|
Figure 10-8 Operation panel cables
|
|
- Lock the cable guide after storing the connected cables in the guide.
For details, see "6.1.1 Locking the cable guide."
If the cable guide does not have a lock, proceed to step 6.
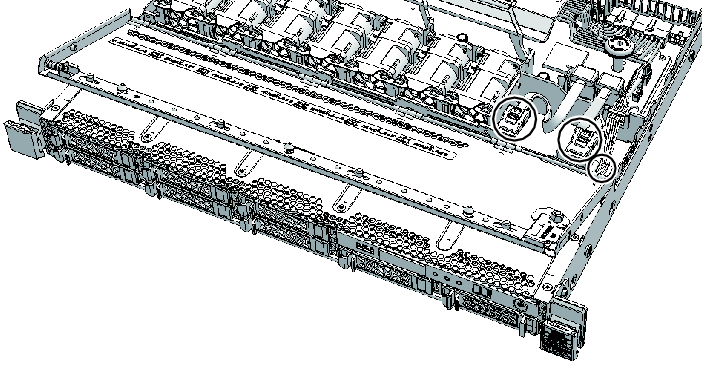
- Connect the three cables to the HDD backplane.
| Note - Connect the cables in their original positions by referring to the record that you made before the start of maintenance. |
| Note - Connect the SAS cable with the metal part facing up. |
|
Figure 10-9 HDD backplane cables
|
|
< Previous Page | Next Page >